The TRI-SaddlePad-PRO is designed to improve saddle comfort and anchor you to your optimal body position, allowing greater endurance in the aerodynamic position and improving pedal cycle performance.
There are 5 steps for proper installation. the first 3 are fairly simple, the last 2 will require close attention to detail.
Avoid Chafing Cycling
This video is designed to help you correctly fit and install the TRI-SaddlePad-PRO to maximize these benefits.
STEP 1-Adhesion: it’s important to make sure you have good adhesion on the surface of your saddle. So as a first step, wipe and dry the surface of the saddle to eliminate all moisture and oils that prevent good adhesion. If necessary, use any standard household cleaner to completely remove oils from the seat.
STEP 2-Marking the Saddle: use a straight edge to identify the widest point in the saddle and make small markings on the edge. These markings will be used later as reference points.
Step 3-Preparing the TRI-SaddlePad-PRO: Pull out the SaddlePad from the package and cut it directly down the middle to separate the two sides. Now the easy steps are out the way – the next two are crucial for a proper fit.
Step 4-Measuring your sit bones: Knowing the width of your sit bones is the key to a good fit…
(1) for a quick measurement, use the reference table located on the inside of the package and determine your estimated sit bone width based on the size of your cycling shorts.
(2) for greater precision, use the provided fitting kit to directly measure an imprint of your sit bones…
to do so, place the corrugated paper on a hard, stable surface, sit straight, onto the paper, do a small butt hop…
using the imprint, measure the distance between the centers of the two impressions.
before we get to our final step, here is a simple, yet important insight about saddles. Saddles are designed so the widest point of your pelvis – your sit bones – sits on the widest point of the saddle.
Your goal is to install the TRI-SaddlePad-PRO so that its widest point directly aligns with your sit bone. this would be the widest point of the saddle!
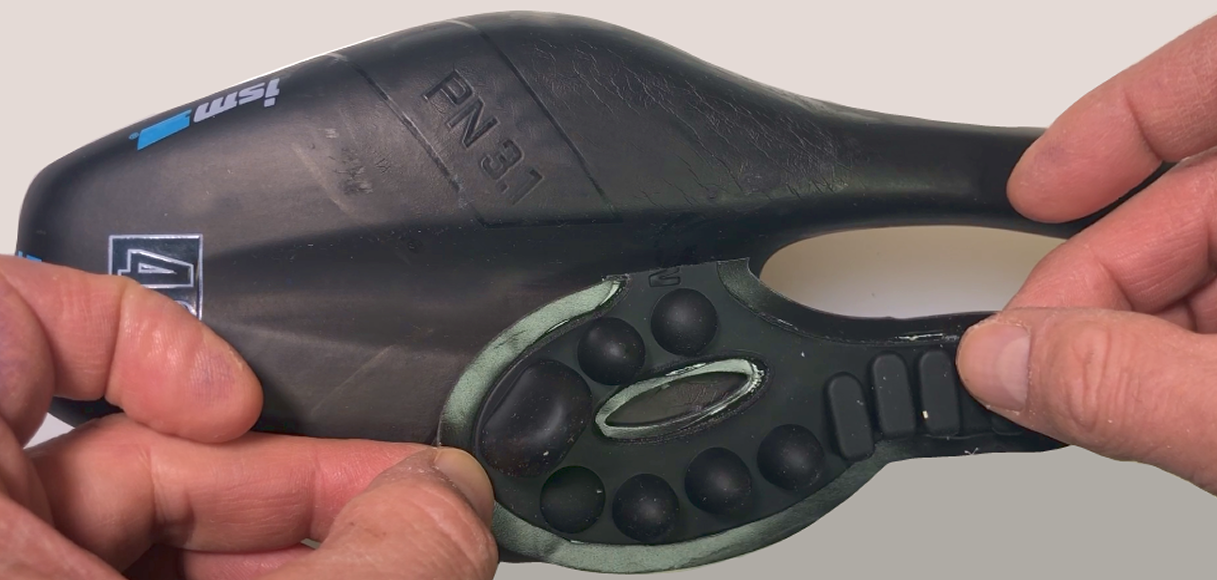
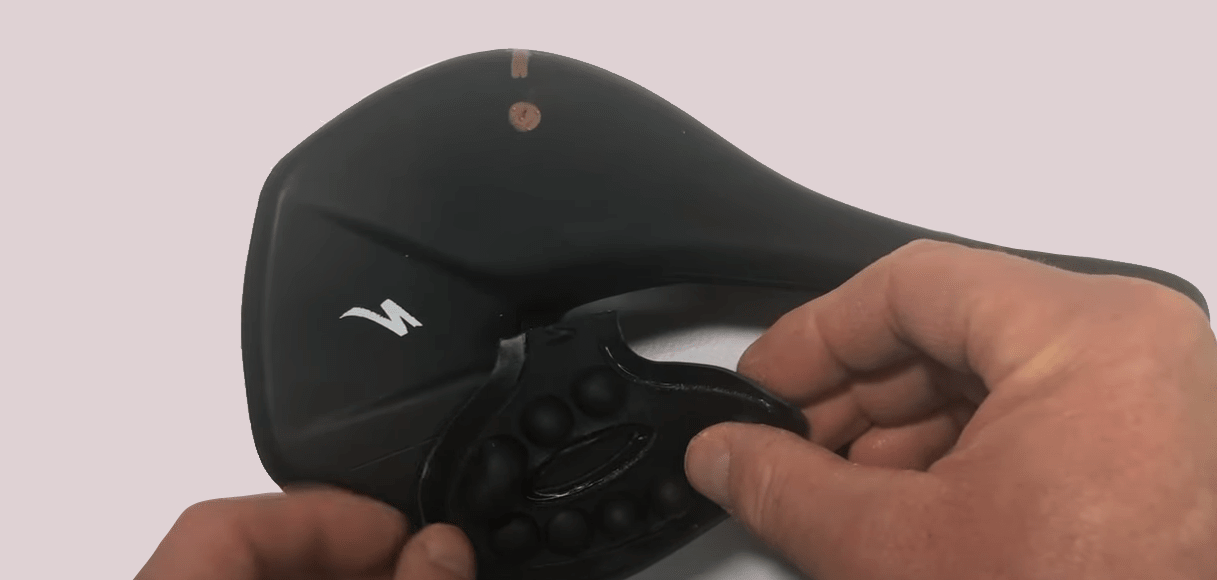
Step 5-Installing the TRI-SaddlePad-PRO: using as a guide the small markings we made in step 2 (identifying the widest point of the saddle) use a straight edge to make 2 additional marks where the sit bone will be resting.
Now, select one of the halves of the TRI-SaddlePad-PRO, remove the adhesive tape from one side, and place the SaddlePad so that the center point of the last cushion is over the one mark you just made—slightly rotate the SaddlePad so the outer edge follows the contour of the seat and the extension of the SaddlePad sits on top of the split saddle …now follow the same process on the other side.
As a final check, make sure the two SaddlePads halves are properly aligned on the saddle and gently press down to ensure they completely adhere to the saddle.
Be sure to give the TRI-SaddlePad-PRO at least one hour before riding to ensure it’s securely attached to the saddle. After one hour, you’re ready to take it for a spin!
We hope you’ll enjoy greater comfort and increased performance on your rides and thank you for trusting us to join you along the way!
See the video tutorial and stay safe with TriSaddlePad-Pro
-
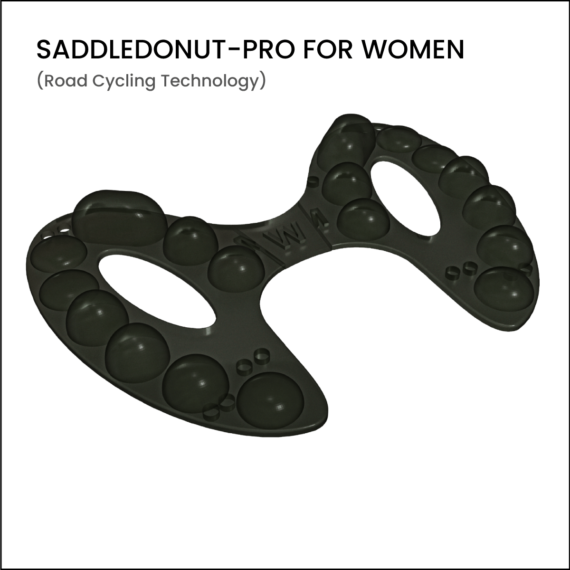
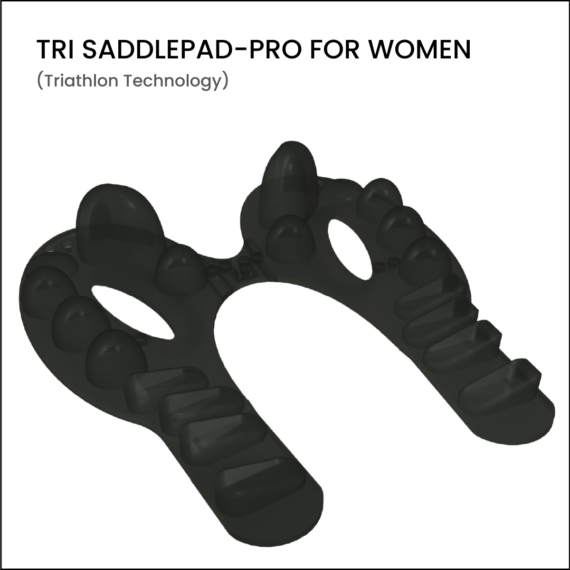 TRI SADDLEPAD-PRO FOR WOMEN$39.95
 -
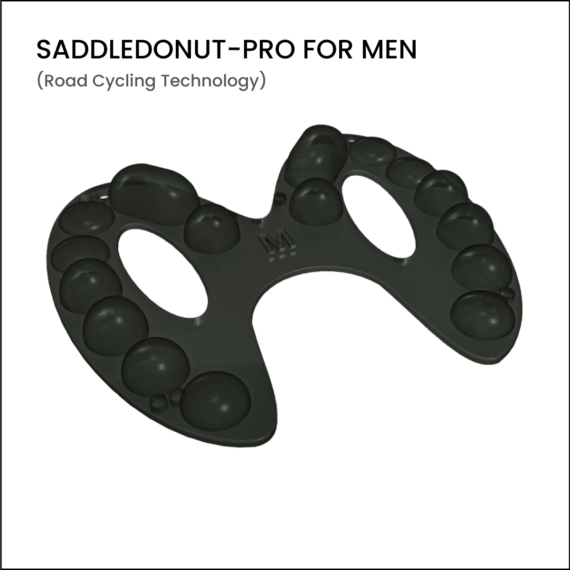
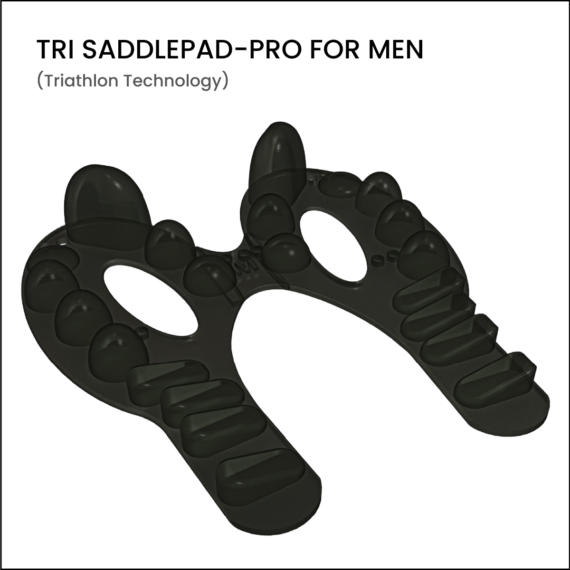 TRI SADDLEPAD-PRO FOR MEN$39.95
